Table of Contents
- Introduction
- Main Features
- How To Setup TR4 System
- All TechnoResearch Cables
- Troubleshooting
- Common Jobs
- Updating Centurion License
- Non-Stock ECUs
- Connecting via Bluetooth
- Victory / Indian Diagnostics
- Checking DTCs Manually (HD)
- FAIL message When Performing Blank ECU Programming
- 1. Centurion Setup and Installation
- 1.1 Where to get the Software
- 1.2 Install Centurion
- 1.3 Run Centurion
- 1.4 Insert Security Key into USB Port
- 1.5 Connect USB Cable
- 1.6 Powerup the Centurion
- 1.7 Powerup to Automatically Install Drivers
- 1.8 Update the Centurion Software
- 1.9 Centurion Disclaimer/Language Selection
- 1.10 Confirm COM Port for Communication
- 1.11 Troubleshooting COM Port Issues
- 2. Using the Centurion
- 3. Centurion Toolbar Icon Description
- 4. Centurion – How to Change Units/Colors
- 5. Centurion Super Pro/Audio – Monitor Real-Time Data (Digital Data View)
- 6. Centurion Super Pro/Audio – Monitor Real-Time Data (Strip Chart Display)
- 7. Centurion Super Pro – Harley Davidson Tests and Activations
- 8. Centurion – Specific Functions for Harley-Davidson® Motorcycles
- ECU/ECM
- 8.1 Centurion Super Pro/Audio – Read And Clear DTCS
- 8.2 Centurion Super Pro – Speedometer Calibration
- 8.6 Centurion Super Pro – Air Fuel Value (AFV)
- 8.7 Centurion Super Pro – Idle Adjustment
- 8.8 Centurion Super Pro – Blank ECU Programming
- 8.9 Centurion Super Pro – Blank Ecu Programming (Clone)
- 8.11 Centurion Super Pro – Module Replacement (4-Pin Models)
- 8.12 Centurion Super Pro – Module Replacement (6-Pin Models)
- 8.13 Centurion Super Pro – ECU: (Enable/Disable)
- 8.17 Centurion Super Pro – Fuel Tank Drain
- 8.18 Centurion Super Pro – Compression Test
- TSM-TSSM-HFSM-BCM
- 8.3 Centurion Super Pro – Hands Free Keyfob Programming
- 8.4 Centurion Super Pro – Keyfob Disabling (Hands Free Fob Only)
- 8.5 Centurion Super Pro – Program Personal Identification Number (Pin) / Personal Key Code
- 8.19 Centurion Super Pro – BCM: (Enable/Disable)
- 8.20 Centurion Super Pro – BCM-Lights: (Enable/Disable)
- 8.22 Centurion Super Pro – Unlocking A Security Module
- 8.23 Centurion Super Pro – Security: Push Button Fob Manual Programming
- INFOTAINMENT
- INSTRUMENTATION
- ABS
- TPMS
- ECU/ECM
- 9. Location of Diagnostic Connectors
- Centurion Glossary
Replacing a Turn Signal Security Module (TSSM)
When receiving a Motorcycle that has a known bad Turn Signal Security Module (TSSM), you will need to replace the module and program/marry a new one to the motorcycle. This is a common job that is conducted in many shops and with the help of Centurion, the job has been made easier.
NOTE: If the ECU is locked by another product, you will NOT be able to perform any active settings changes as we will not be able to communicate with the ECU.
- Start by installing the new Turn Signal Security Module (TSSM). NOTE: When installing a new TSSM, ensure that the bike is turned off so that there is no power getting to the TSSM.
- Ensure that the IGN is on, the RUN button is set to ‘Run’, and the VCM is connected.
- Ensure that the battery is at 12v or more and will remain so, for the duration of the module replacement (i.e. Battery Charger).
- In Centurion, click the Active Settings button(
 ).
). - From there, navigate to KeyFob & PIN.

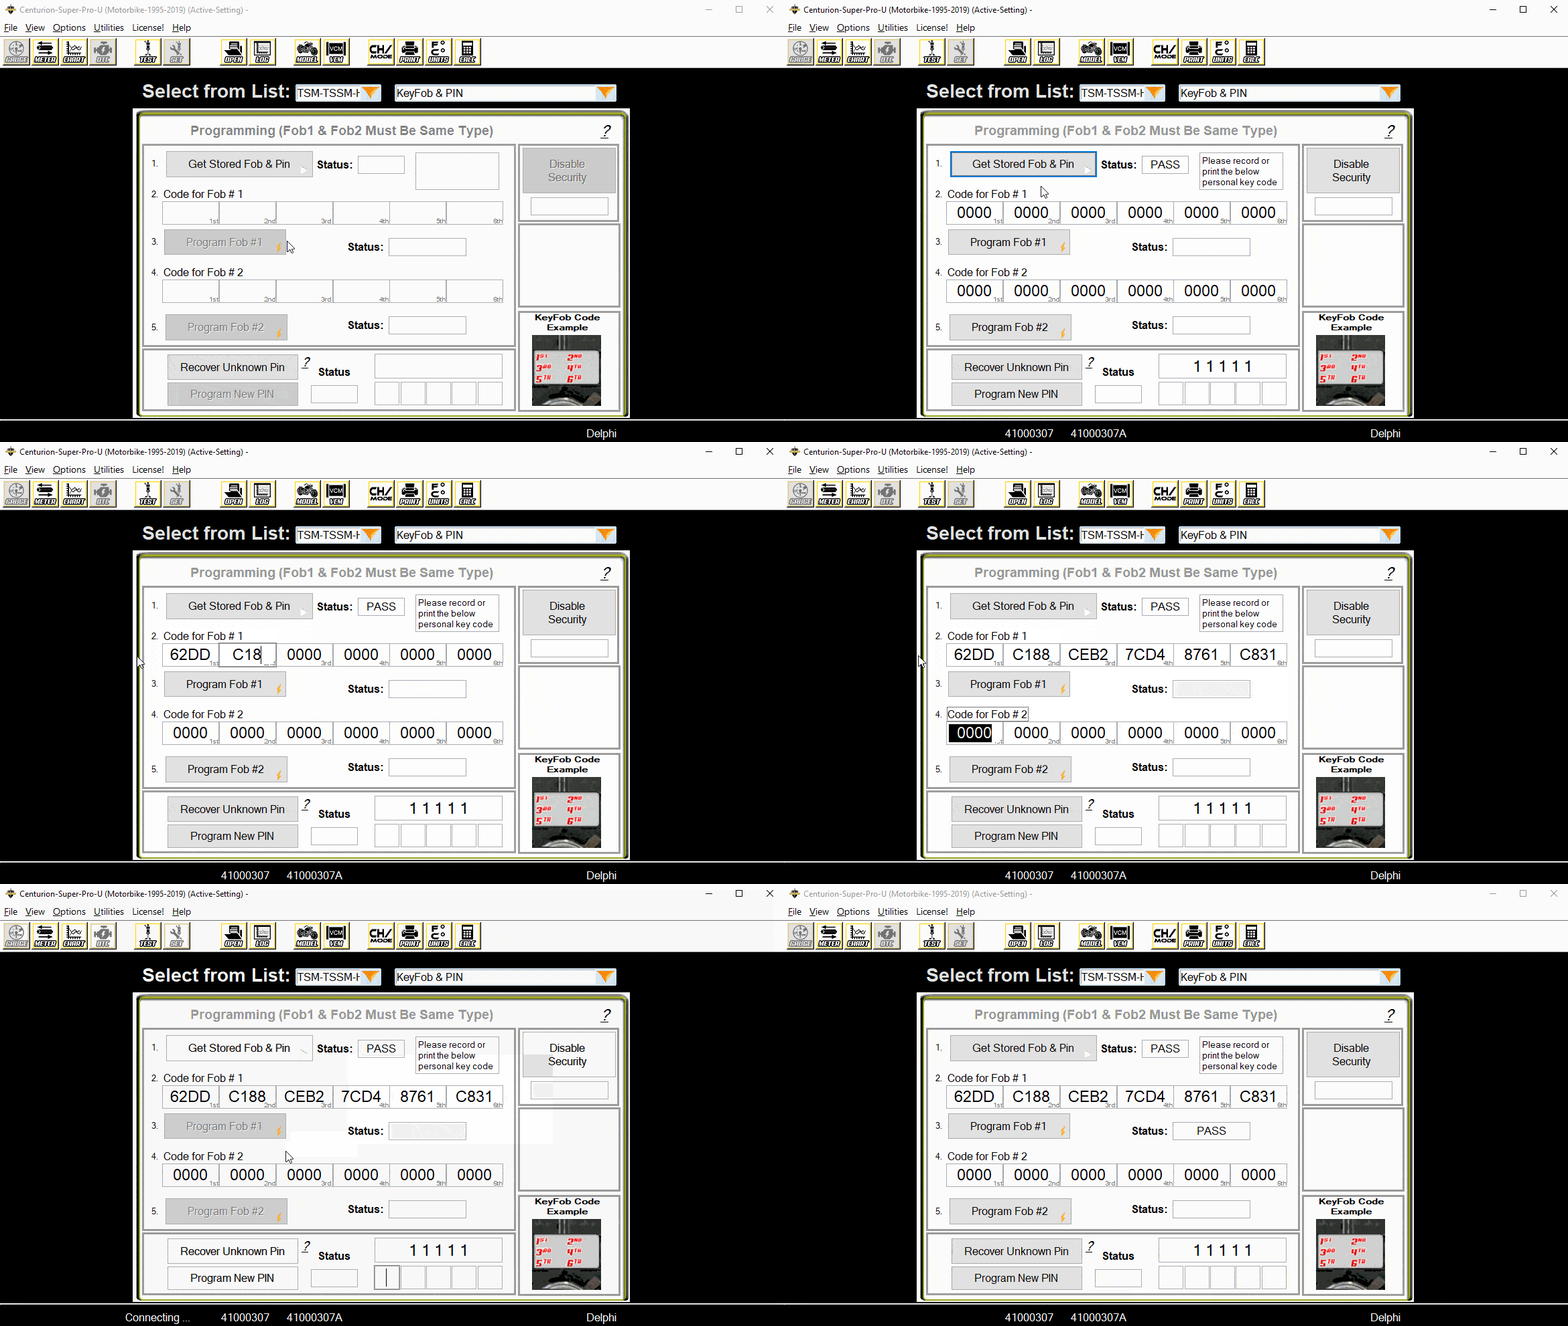
- Click 'Get Stored Fob & Pin' (
 )
) -
If you do not receive zero’s in all the boxes, like shown below then your TSSM is NOT new.

- If you DO receive all zero’s then the next step is to program the 5-digit PIN.
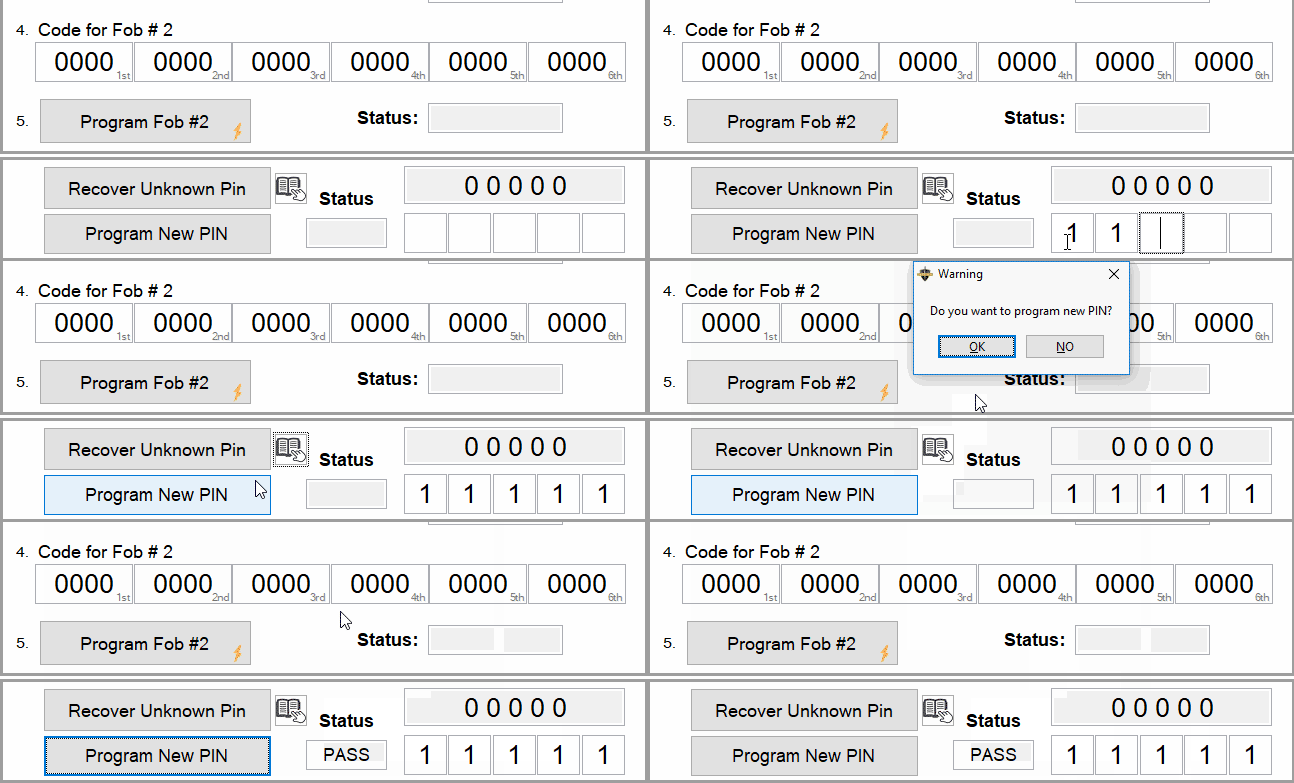
- Input a 5-digit PIN, and then click 'Program New PIN'.

- After the PIN is programmed and you’ve received the status of PASS, navigate to the Module Replacement section.

- Click the button(
 ) to connect and begin the Module Replacement procedure.
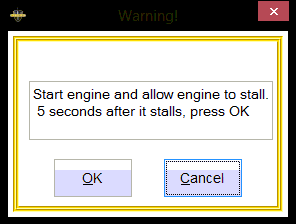
- You will be prompted with a window to start the bike and let it stall out, wait 5 seconds after it stalls then press ‘Ok’.

- In the text box at the bottom you will prompted to wait 11 minutes. This will countdown to zero, during this time be sure to leave the IGN and RUN button ON.

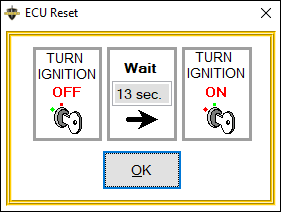
- After hitting zero it will prompt you to turn the IGN off, wait 13 seconds, then turn the IGN on and you should receive a PASS message in the lower text box.


- Next, navigate back to the KeyFob & Pin.

- Click 'Get Stored Fob & Pin' (
 )
) - You may now input the 24-digit codes for the Hands Free KeyFobs to assign them to the bike.

- You are now done with the replacement procedure of a TSSM.
